一、准备工作
1、系统环境
服务器系统:CentOS 7.4
服务器IP:192.168.0.117
版本:
httpd:2.4.29
mysql:5.7.22
php:7.2.9
2、下载软件包
#httpd软件包
https://mirrors.yangxingzhen.com/apache/httpd-2.4.29.tar.gz
#httpd依赖包
https://mirrors.yangxingzhen.com/apr/apr-1.6.3.tar.gz
https://mirrors.yangxingzhen.com/apr-util/apr-util-1.6.1.tar.gz
#MYSQL软件包
https://mirrors.yangxingzhen.com/mysql/mysql-5.7.22.tar.gz
#MYSQL依赖包
https://mirrors.yangxingzhen.com/mysql/boost_1_59_0.tar.gz
#PHP软件包
https://mirrors.yangxingzhen.com/php/php-7.2.9.tar.gz
#PHP依赖包
https://mirrors.yangxingzhen.com/libiconv/libiconv-1.15.tar.gz
PS:
Apr-1.6.3.tar.gz和Apr-util-1.6.1.tar.gz是httpd-2.4以后的版本所需要的插件,必须安装
3、将防火墙与selinux关闭
[root@localhost ~]# systemctl stop firewalld.service
[root@localhost ~]# systemctl disable firewalld
[root@localhost ~]# sed -i '/SELINUX/s/enforcing/disabled/' /etc/selinux/config
二、安装Apache服务
1、下载软件包和安装编译工具与插件
[root@localhost ~]# yum -y install wget gcc gcc-c++ make pcre-devel pcre perl expat-devel perl-devel libtool
[root@localhost ~]# wget -c https://mirrors.yangxingzhen.com/apache/httpd-2.4.29.tar.gz
[root@localhost ~]# wget -c https://mirrors.yangxingzhen.com/apr/apr-1.6.3.tar.gz
[root@localhost ~]# wget -c https://mirrors.yangxingzhen.com/apr-util/apr-util-1.6.1.tar.gz
#APR安装
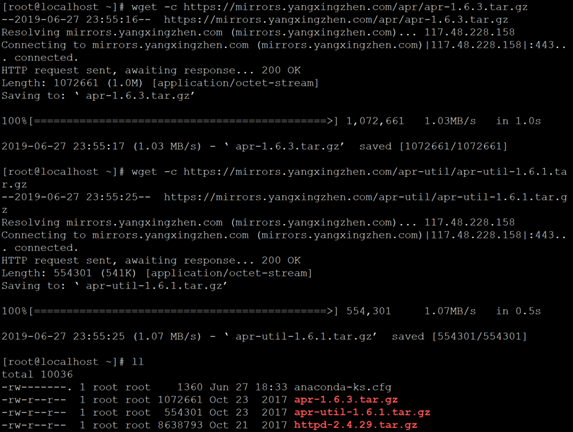
1、解压APR软件包
[root@localhost ~]# tar zxf apr-1.6.3.tar.gz
[root@localhost ~]# cd apr-1.6.3
2、预编译
[root@localhost apr-1.6.3]# ./configure --prefix=/usr/local/apr
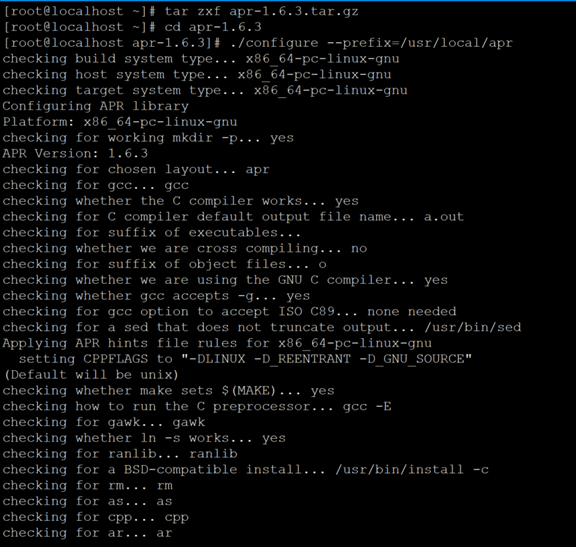
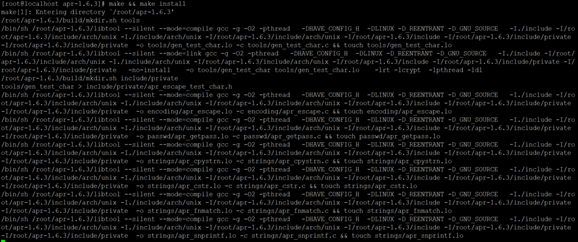
3、编译及安装
[root@localhost apr-1.6.3]# make && make install
#Apr-util安装
1、解压apr-util软件包
[root@localhost apr-1.6.3]# cd ..
[root@localhost ~]# tar zxf apr-util-1.6.1.tar.gz
[root@localhost ~]# cd apr-util-1.6.1
2、预编译
[root@localhost apr-util-1.6.1]# ./configure --prefix=/usr/local/apr-util --with-apr=/usr/local/apr
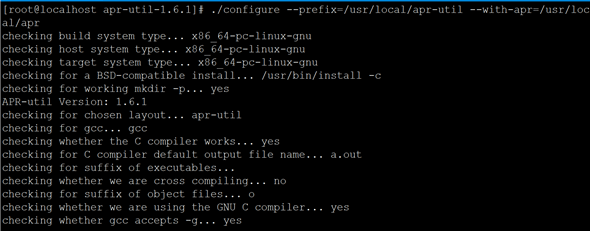
3、编译及安装
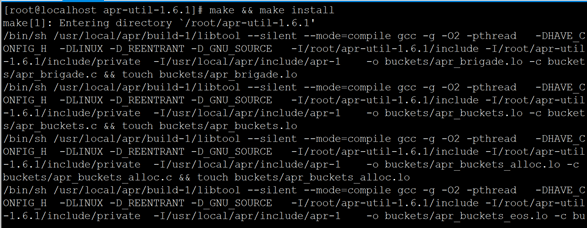
[root@localhost apr-util-1.6.1]# make && make install
#Apache安装
1、解压httpd软件包
[root@localhost apr-util-1.6.1]# cd ..
[root@localhost ~]# tar zxf httpd-2.4.29.tar.gz
[root@localhost ~]# cd httpd-2.4.29
2、预编译
[root@localhost ~]# ./configure --prefix=/usr/local/apache --with-apr=/usr/local/apr --with-apr-util=/usr/local/apr-util/ --enable-so --enable-rewrite --enable-cahreset-lite

3、编译及安装
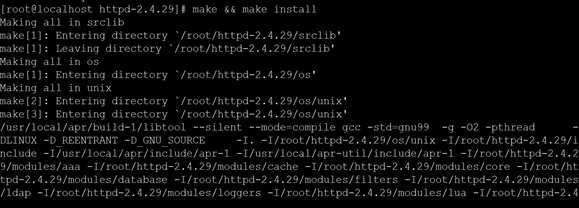
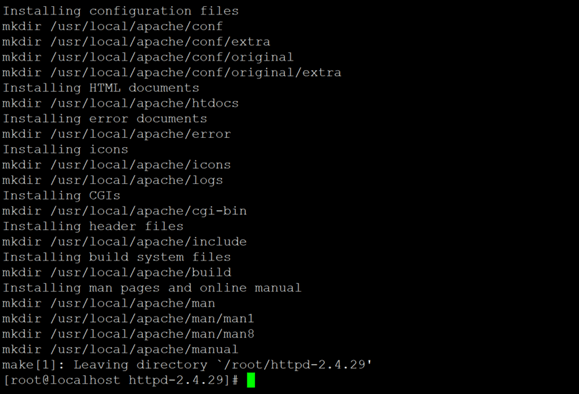
[root@localhost httpd-2.4.29]# make && make install
4、将httpd服务添加到系统服务
[root@localhost httpd-2.4.29]# cp /usr/local/apache/bin/apachectl /etc/init.d/httpd
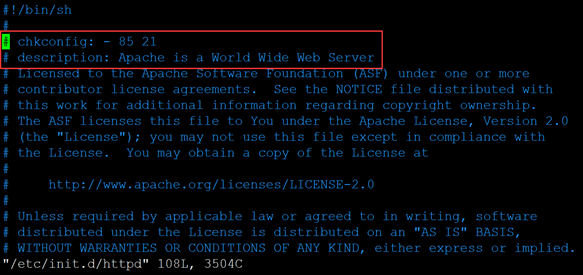
[root@localhost httpd-2.4.29]# vi /etc/init.d/httpd
#添加以下两行(注意,"#"不能省略):
# chkconfig: - 85 21
# description: Apache is a World Wide Web Server
5、将httpd加入到SERVICE管理器
[root@localhost httpd-2.4.29]# chkconfig --add httpd
[root@localhost httpd-2.4.29]# systemctl daemon-reload
6、编辑httpd主配置文件
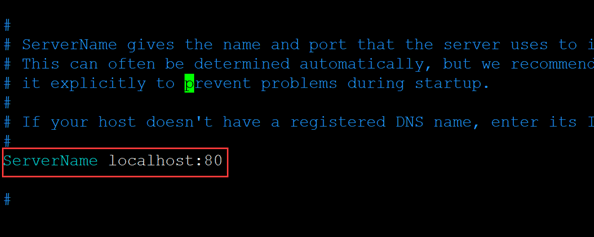
[root@localhost httpd-2.4.29]# vim /usr/local/apache/conf/httpd.conf
修改以下内容:
ServerName localhost:80
7、创建软连接
[root@localhost httpd-2.4.29]# ln -s /usr/local/apache/bin/* /usr/bin
#检查语法错误
[root@localhost httpd-2.4.29]# httpd -t
或者:
[root@localhost httpd-2.4.29]# apachectl -t

8、启动httpd服务
[root@localhost httpd-2.4.29]# systemctl start httpd

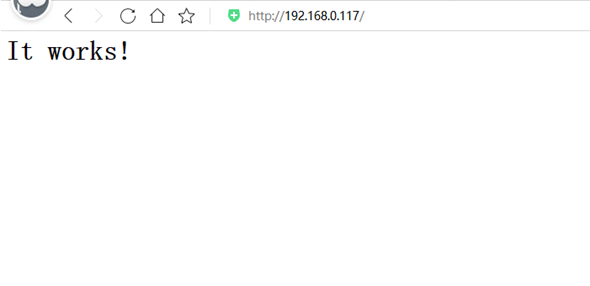
9、验证
# 浏览器访问服务器IP,http://192.168.0.117
三、安装MySQL服务
#MYSQL安装
1、下载boost库(MYSQL5.7及以上需要,必须安装)
[root@localhost ~]# yum -y install wget
[root@localhost ~]# wget -c https://mirrors.yangxingzhen.com/mysql/boost_1_59_0.tar.gz
[root@localhost ~]# tar zxf boost_1_59_0.tar.gz -C /usr/local/
2、下载扩展包
[root@localhost ~]# yum -y install ncurses ncurses-devel perl perl-devel gcc gcc-c++ cmake make openssl-devel openssl
3、建立MYSQL用户
[root@localhost ~]# useradd -s /sbin/nologin mysql
4、下载MYSQL-5.7.22源码包
[root@localhost ~]# wget -c https://mirrors.yangxingzhen.com/mysql/mysql-5.7.22.tar.gz
[root@localhost ~]# tar zxf mysql-5.7.22.tar.gz
[root@localhost ~]# cd mysql-5.7.22
[root@localhost mysql-5.7.22]# cmake . -DCMAKE_INSTALL_PREFIX=/usr/local/mysql /
-DMYSQL_UNIX_ADDR=/tmp/mysql.sock /
-DMYSQL_DATADIR=/data/mysql /
-DSYSCONFDIR=/etc /
-DEXTRA_CHARSETS=all /
-DDEFAULT_CHARSET=utf8 /
-DDEFAULT_COLLATION=utf8_general_ci /
-DWITH_MYISAM_STORAGE_ENGINE=1 /
-DWITH_INNOBASE_STORAGE_ENGINE=1 /
-DWITH_MEMORY_STORAGE_ENGINE=1 /
-DWITH_PARTITION_STORAGE_ENGINE=1 /
-DDOWNLOAD_BOOST=1 /
-DWITH_BOOST=/usr/local/boost_1_59_0 /
-DENABLED_LOCAL_INFILE=1 /
-DMYSQL_TCP_PORT=3306 /
-DWITH_READLINE=1 /
-DMYSQL_USER=mysql /
-DWITH_SSL=yes
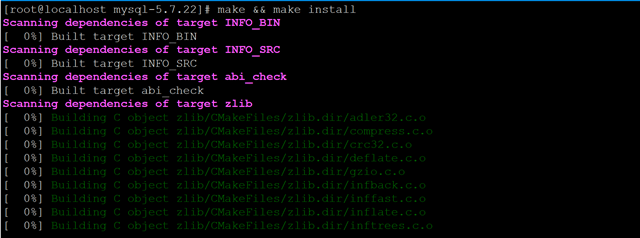
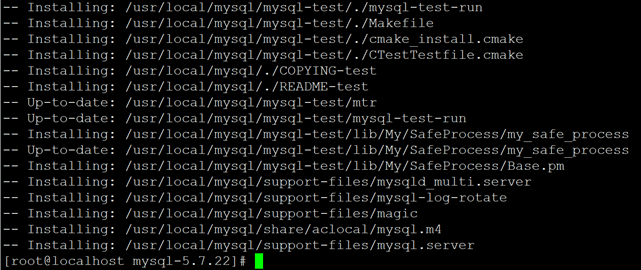
[root@localhost mysql-5.7.22]# make && make install
5、创建MYSQL数据存储目录
[root@localhost mysql-5.7.22]# mkdir -p /data/mysql
[root@localhost mysql-5.7.22]# chown -R mysql.mysql /data/mysql
6、编辑MYSQL主配置文件
[root@localhost mysql-5.7.22]# vim /etc/my.cnf
[client]
default-character-set = utf8
socket = /usr/local/mysql/mysql.sock

[mysql]
port = 3306
default-character-set = utf8
socket = /usr/local/mysql/mysql.sock

[mysqld]
user = mysql
basedir = /usr/local/mysql
datadir = /data/mysql
port = 3306
character_set_server=utf8
pid-file = /usr/local/mysql/mysqld.pid
socket = /usr/local/mysql/mysql.sock
log-error = /tmp/mysqld.log
server-id = 1
log-bin = mysql
sql_mode = NO_ENGINE_SUBSTITUTION,STRICT_TRANS_TABLES,NO_AUTO_CREATE_USER,NO_AUTO_VALUE_ON_ZERO,NO_ZERO_IN_DATE,NO_ZERO_DATE,ERROR_FOR_DIVISION_BY_ZERO,PIPES_AS_CONCAT,ANSI_QUOTES
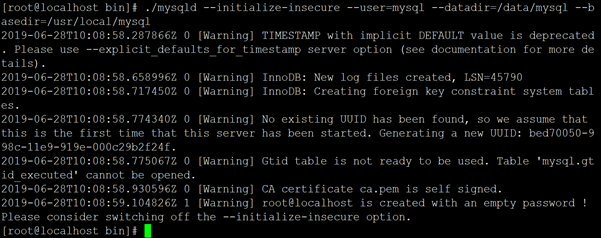
7、初始化数据库(生成空密码,生成随机密码--initialize)
[root@localhost mysql-5.7.22]# cd /usr/local/mysql/bin
[root@localhost bin]# ./mysqld --initialize-insecure --user=mysql --datadir=/data/mysql --basedir=/usr/local/mysql
8、配置成系统服务
[root@localhost bin]# cp /usr/local/mysql/support-files/mysql.server /etc/init.d/mysqld
[root@localhost bin]# chmod o+x /etc/init.d/mysqld
[root@localhost bin]# chown -R mysql.mysql /usr/local/mysql
[root@localhost bin]# service mysqld start
[root@localhost bin]# chkconfig --add mysqld
[root@localhost bin]# chkconfig mysqld on
[root@localhost bin]# ln -s /usr/local/mysql/bin/* /usr/bin
[root@localhost bin]# mysql
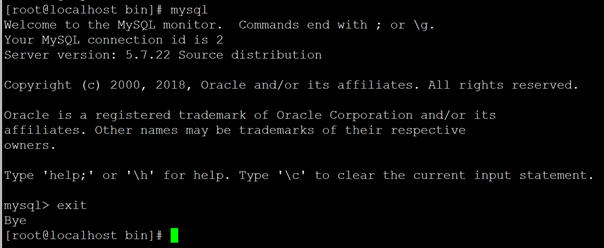
#数据库安装配置成功,退出则输入"quit"
四、搭建PHP运行环境
#安装libiconv
1、下载libiconv软件包
[root@localhost ~]# wget -c https://mirrors.yangxingzhen.com/libiconv/libiconv-1.15.tar.gz
2、解压libiconv软件包
[root@localhost ~]# tar zxf libiconv-1.15.tar.gz
[root@localhost ~]# cd libiconv-1.15
3、预编译
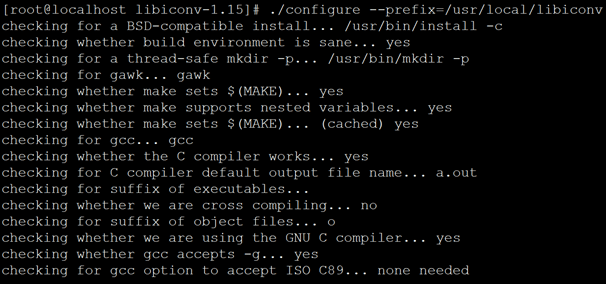
[root@localhost libiconv-1.15]# ./configure --prefix=/usr/local/libiconv
4、编译及安装
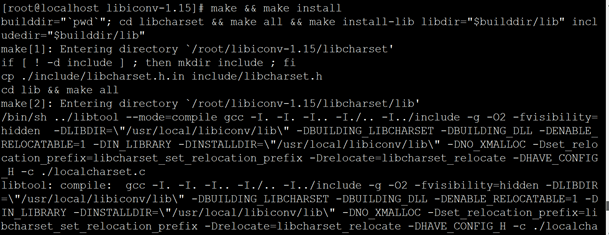
[root@localhost libiconv-1.15]# make && make install
#安装 PHP-7.2.9
1、安装编工具及插件(下载阿里云yum源)
[root@localhost ~]# wget -O /etc/yum.repos.d/epel.repo http://mirrors.aliyun.com/repo/epel-7.repo
[root@localhost ~]# yum -y install gcc gcc-c++ libvpx libvpx-devel libjpeg-turbo libjpeg-turbo-devel libzip libpng libpng-devel freetype-devel libxml2 libxml2-devel gd gd-devel libxslt-devel libcurl-devel libmcrypt-devel mhash mcrypt openssl openssl-devel
2、解压PHP软件包
[root@localhost ~]# tar zxf php-7.2.9.tar.gz
[root@localhost ~]# cd php-7.2.9
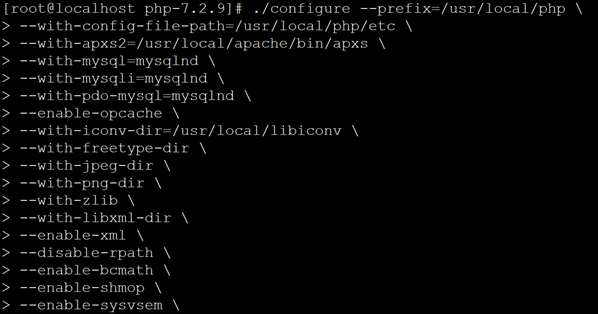
3、预编译
[root@localhost php-7.2.9.]# ./configure --prefix=/usr/local/php /
--with-config-file-path=/usr/local/php/etc /
--with-apxs2=/usr/local/apache/bin/apxs /
--with-mysql=mysqlnd /
--with-mysqli=mysqlnd /
--with-pdo-mysql=mysqlnd /
--enable-opcache /
--with-iconv-dir=/usr/local/libiconv /
--with-freetype-dir /
--with-jpeg-dir /
--with-png-dir /
--with-zlib /
--with-libxml-dir /
--enable-xml /
--disable-rpath /
--enable-bcmath /
--enable-shmop /
--enable-sysvsem /
--enable-inline-optimization /
--with-curl /
--enable-mbregex /
--enable-fpm /
--enable-mbstring /
--with-mcrypt /
--with-gd /
--enable-gd-native-ttf /
--with-openssl /
--with-mhash /
--enable-pcntl /
--enable-sockets /
--with-xmlrpc /
--enable-soap /
--enable-short-tags /
--enable-static /
--with-fpm-user=apache /
--with-fpm-group=apache /
--enable-ftp /
--enable-zip /
--with-gettext
4、编译及安装
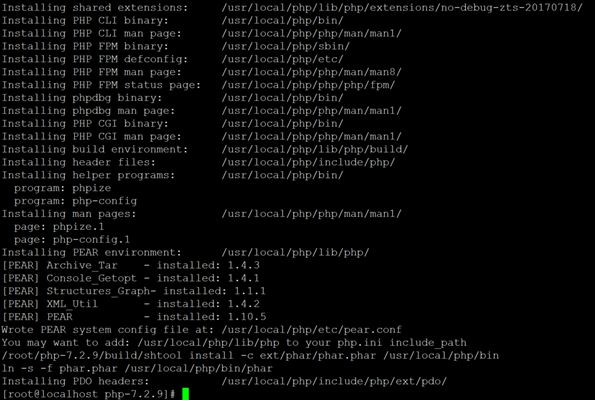
[root@localhost php-7.2.9.]# make && make install
5、配置PHP
[root@localhost php-7.2.9]# cp /usr/local/php/etc/php-fpm.conf.default /usr/local/php/etc/php-fpm.conf
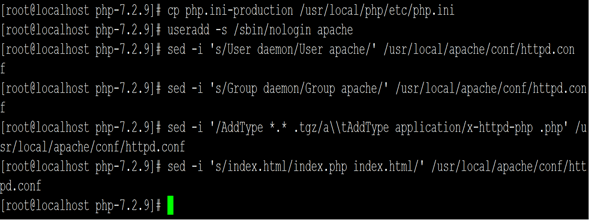
[root@localhost php-7.2.9]# cp php.ini-production /usr/local/php/etc/php.ini
[root@localhost php-7.2.9]# useradd -s /sbin/nologin apache
[root@localhost php-7.2.9]# sed -i 's/User daemon/User apache/' /usr/local/apache/conf/httpd.conf
[root@localhost php-7.2.9]# sed -i 's/Group daemon/Group apache/' /usr/local/apache/conf/httpd.conf
[root@localhost php-7.2.9]# sed -i '/AddType *.* .tgz/a//tAddType application/x-httpd-php .php' /usr/local/apache/conf/httpd.conf
[root@localhost php-7.2.9]# sed -i 's/index.html/index.php index.html/' /usr/local/apache/conf/httpd.conf
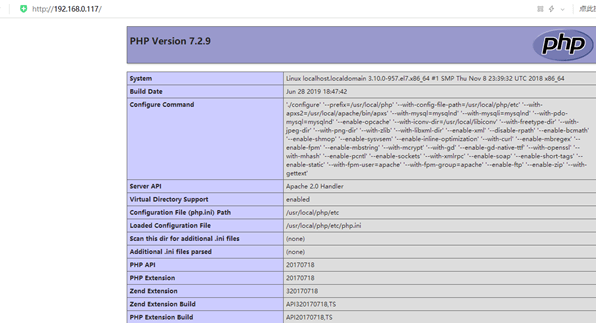
7、验证
#编辑PHP测试页面
[root@localhost php-7.2.9]# cd /usr/local/apache/htdocs/
[root@localhost htdocs]# vim index.php
<?php
phpinfo();
?>

#重启httpd服务
[root@localhost htdocs]# systemctl restart httpd
#浏览器访问服务器:http://192.168.0.117
8、测试数据库
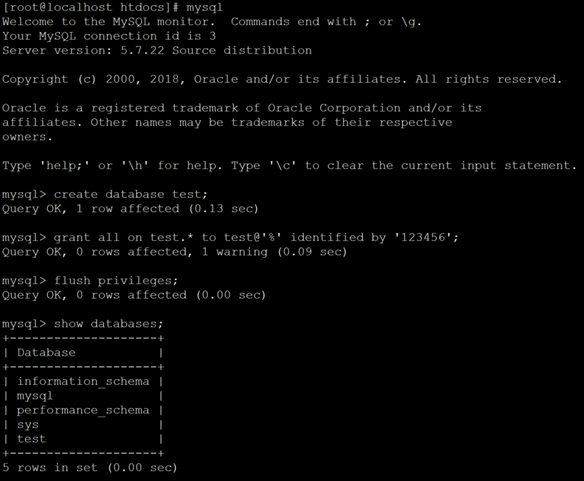
[root@localhost htdocs]# mysql
mysql> create database test;
mysql> grant all on test.* to test@'%' identified by '123456';
mysql> flush privileges;
[root@localhost htdocs]# vim info_mysql.php
<?php
$link=mysqli_connect('192.168.0.117','test','123456');
if($link) echo "<h1>Success!!</h1>";
else echo "Fail!!";
?>
[root@localhost htdocs]# systemctl restart httpd
浏览器访问http://192.168.0.117/info_mysql.php
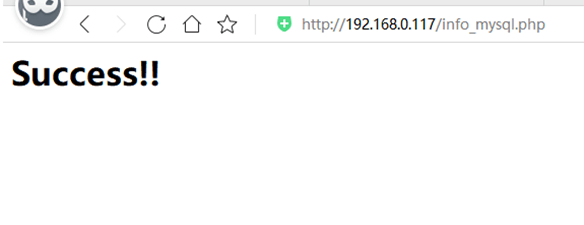
至此,LAMP环境搭建完毕!!

